Saturday, August 31, 2013

DIY Crochet Bracelet


If you follow me on Instagram, you'll know that I recently learnt to crochet. Back in school, crochet and knitting bored me silly. Now that I'm older, it somehow seems so much cooler. I dream of making beautiful lace crochet collars, scarves, doilies etc. However, I'd like to learn to walk properly first before I start sprinting. Whilst I've created more substantial bits of crochet since my lessons, I'd like to share a very very simple craft idea that even a novice crocheter could make. Here is how your create a simple crochet bracelet.


You will need:
Wool
Chain link of appropriate length to fit your wrist
Findings for linking the chain link
Jewellery pliers
A pair of scissors

Method:

Create your base chain link bracelet using the links ( as shown in picture). Do not make this a tight link as you will need to allow some extra room to make your crochet fit.

Chain and then single crochet into the link bracelet. Leave a link free at each end of the bracelet. Your crochet bracelet is now complete! 

You could build extra stitches in another colour to add some more interest to your bracelet. Alternatively, you could sew rhinestone or pearls onto the crochet for a bit of sparkle.


I hope you give this little DIY a go, it is so very easy and a great way to get hooked on to crochet. Ann x
To get in touch and see the latest on all my adventures, follow me on Bloglovin, Twitter or Facebook
 

Monday, August 26, 2013

Aeolian Island Break: Exploring Lipari


If you imagine the Med islands but much quieter and with a much more culture seeking crowd, you have the Aeolians. As with a lot of our travels, I did a fair bit of reading before we went out there. From what I imbibed through the travel books, I imagined azure blue waters, relaxing walks, freshly caught fish for lunch, cobbled streets waiting to be explored and a lively local scene. The Aeolians were all that and more. Yet, they felt like a precious little secret I shared with a select few.

Lipari is the main hub for the Aeolians. We chose to have Lipari as our base for this very reason. Accommodation was reasonably priced (outside the August madness) and we could easily get to mainland Sicily as well as the other islands. I also liked the idea of having shops to visit, cafes to frequent and plentiful choice of restaurants. As always, the locals (Italians/Sicilians) always provide their share of entertainment via a keen interest in you and a general sense of drama in everything they say or do.


The best way to see Lipari properly is to hire a scooter. We even managed to negotiate the price of one for about 15 Euros a day. Nevertheless, due to various reasons, we ended up exploring Lipari by foot. You could stick to the touristy trail and explore the castle, museum etc. or just wander the streets and see what you find. We did more of the latter. I loved visiting the little grocery stores that sold local produce (oils, wine, bread, fruit etc) and stopping by tiny local cafes for the mandatory granita or gelato.


The beauty of Lipari and the Aeolians in general is that there isn't that much to do and so you are forced to slow down after a day's worth of exploring. Instead, find a spot to relax by the beach or a sidewalk cafe and people watch whilst sipping on good quality coffee. We bought bits from the local shops for an impromptu picnic by a bench and wandered into pretty Trattorias in search of dinner. The food never failed to disappoint, especially if you sought out local specialties.


Have you been to Liapri or somewhere similar? What were your favourite activities? Ann x

Wearing: Hat bought from a local Sicilian store, Vivienne Westwood Sunglasses; H&M Blazer, Thrift Store Playsuit; La Redoute Sandals, Mandarina Duck Bag via TKMaxx ( all old collections)

To get in touch and see the latest on all my adventures, follow me on Bloglovin, Twitter or Facebook .

Photography by Edward Chandler

Friday, August 23, 2013

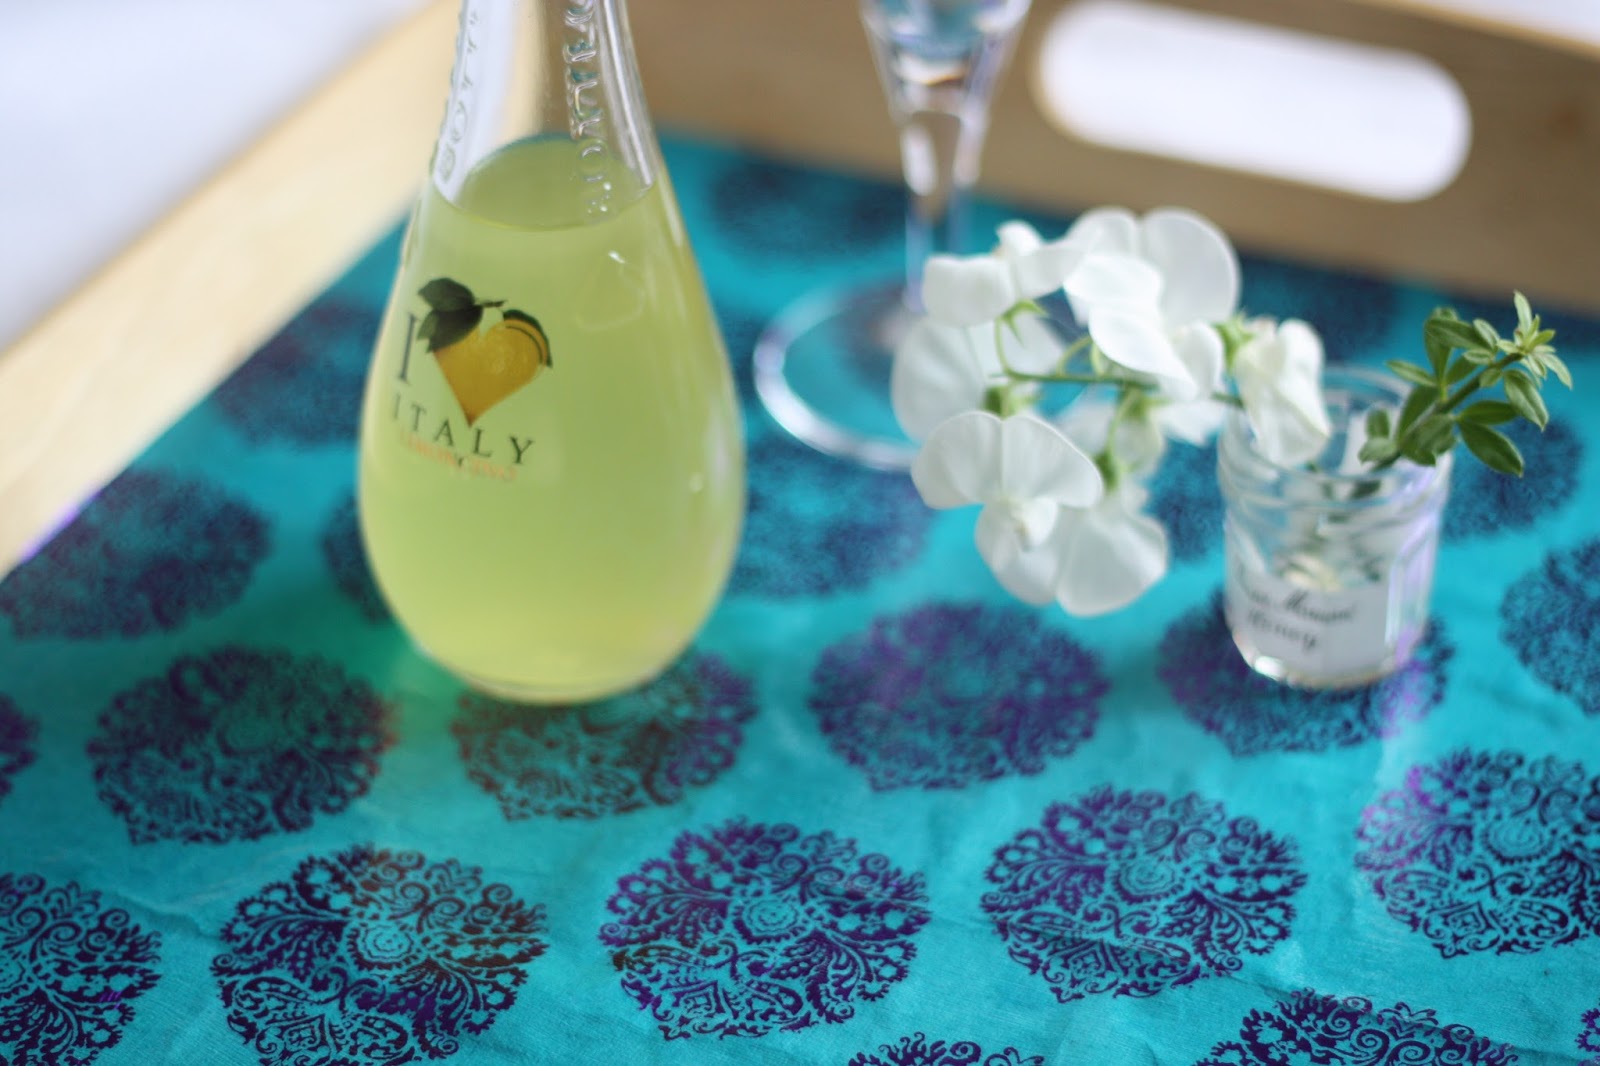
Glam up a Serving Tray with Decoupage


Partnerships always come with their share of compromises. Ed and I have had ours and they are all trivial ones. One such compromise was Ed's IKEA serving trays. I hated them! They were very utilitarian lacked anything aesthetic whatsoever. They did however serve some purpose, usually to help us dine in front of the TV on rare occasions. I recently realised there was really easy way to make these ugly trays more glamorous i.e. decoupage them!


Some weeks ago, I bought a few beautiful sheets of wrapping paper for 50p each in the Paperchase sale. They were so pretty that I was sure I could also put them to good use on an art project. That is when I realised that with a bit of Mod Podge and a few hours on a weekend, I could easily revamp those horrid trays I previously mentioned. To do a similar decoupage, you will need the following:

Pretty paper
A tub of Mod Podge ( or PVA glue)

A paint brush
Scissors
Paper and ruler
Absorbent paper for tidying up the edges
An item to decoupage, in this case a tray.


Method;
Cut the paper to size using the pencil, ruler and scissors. Thinly cover the surface you want to decoupage with Mod Podge. Let this sit for a couple of minutes before placing the paper on top and pressing it in well. Use the the ruler to smooth the surface. Wait for 20 minutes.

After the paper has tuck well, apply another thin layer of Mod Podge. Wait for 30 minutes until the layer is completely dry. Continue this method until you have at least three top coats. Your decoupage is now done!


I hope you give decoupage a go and let me know how you get on! Ann x
To get in touch and see the latest on all my adventures, follow me on Bloglovin, Twitter or Facebook


Tuesday, August 20, 2013

Matcha Bubble Tea!


Back in May, I lost my bubble tea virginity at Bubbleology in Harvey Nic's, Knightsbridge.  I have since then wanted to recreate that quirky drink at home. In case you were wondering, Bubble/Boba tea is a South-East Asian food trend that is now the rage in London too. A fortuitous visit to a Chinese shop in Cambridge helped me acquire a whole bag of tapioca perals for very little. All I had to do was now mix it to my daily morning matcha routine. Here is how you make one yourself.


Serves 2
Ingredients:
1/4 cup Tapioca pearls 
2 teaspoons matcha
4 tbsp honey
2 tbsp milk

Boba/Bubbles:
Cook the tapioca pearls for about 5 minutes in boiling water till they are soft and have a glazed surface. Set aside.

Match:
Whisk the matcha, honey and milk together into a smooth paste and add boiling water.

Now add the tapioca pearls to the matcha, dividing it equally between two glasses. Serve!


You can make all sorts of tea with boba/tapioca pearls. Another favourite of mine is the taro version. You also serve bubble tea cold. Its lots of fun and the chewy 'bubbles' add another interesting dimension to most drinks.

Will you give it bubble tea a go too? Ann x

To get in touch and see the latest on all my adventures, follow me on Bloglovin, Twitter or Facebook .

Thursday, August 15, 2013

Summer Crafts: Pressed Flowers Art

I remember pressing flowers for fun as a child. That was a long time ago. More recently, I've been wanting to capture some of the glorious blooms in our garden onto something more permanent and artistic. Art with pressed flowers seemed the obvious choice. It is incredibly easy to do and the results are truly lovely.

For pressing flowers you will need:
Fresh colourful flowers and foliage of your choice
A big fat book or two
Absorbent paper

For crafting with the pressed flowers:
Craft glue
Double sided sticky tape, optional
Picture frame (charity shops are a great source)
Card sheet


Method:
Place your flowers between absorbent sheets of paper inside a heavy book. Lay a heavy weight (or extra books) on this book and wait for 3 weeks. By the end of the 3 weeks, you flowers will be dried and pressed flat

To frame these flowers, use card paper of your choice ( or use a printed paper if you prefer) and cut to fit the picture frame. Attach flowers to the papers using a combination of craft glue and double sided tape. It depends on what your sticking as I managed with glue for most things but needed some tape for the lavender. Frame when the glue has dried. Your very unique nature inspired work of art is now ready to go on display!


Over the coming weeks I will write about other garden inspired crafts. If you want to join me in these crafting adventures, I suggest you start collecting and drying some lavender and herbs now. Watch this space!

I'd love to hear your all about your summer crafting stories too! Ann x

To get in touch and see the latest on all my adventures, follow me on Bloglovin, Twitter or Facebook .


Wednesday, August 14, 2013

Summer in a Jar: Plum and Raspberry Jam


 With our garden and allotment now producing a fair share of berries and fruit, I really needed to make some freezer space. I'd already frozen some raspberries earlier this season plus I need to finish the last of 2012's plums. I could not think of a simpler way of achieving both outcomes other than making more jam. Here is a super easy recipe for making your own plum and raspberry jam.

Printable recipe

Ingredients:
250 g raspberries ( I used frozen)
250 g plums
500 g jam sugar
2 tbsp lemon juice

Method:
Place a couple of  teaspoons in the freezer for testing the setting point of the jam. 

Heat the raspberries and plums with jam sugar in a saucepan until the mixture begins to boil. Add the lime juice. Reduce heat and continue to boil for about 20 minutes, stirring every few minutes. Skim off any scum/froth that forms along the top and sides using a wooden spoon.

Place a tiny dollop on the mixture onto one of the frozen teaspoons and see if it sets in a minute or so. You know the jam has set if it starts looking gel like and does not drip off the spoon.

Pour into sterilised jars and refrigerate.  Homemade jam, done!


 Jam making is incredibly easy and you can use pretty much the same recipe and substitute the raspberries and plums for any soft fruit. I'd love to hear all about your jam making adventures too! Ann x

To get in touch and see the latest on all my adventures, follow me on Bloglovin, Twitter or Facebook .

Sunday, August 11, 2013

Quirky and Handmade


I enjoy collecting unique pieces of fashion, especially those that are handmade and come with a story. Our annual trip to India is never complete without a quick stop at O.M.O. , a tiny little boutique that has been my go-to place for nearly ten years. Here, women artisans hand sew most of the items on sale using traditional Indian fabrics and techniques. My most recent trip to the place yielded a beautiful summer dress with a quirky twist.


Given the weather we are accustomed to in England, I expected to wear this only on a handful of occasions. However, during a recent trip to Southern Italy, where balmy weather reigns, my quirky handmade dress got plenty of use. Our time in Pizzo was spent mostly wandering the historic town centre and lazing away at Enrico's coffee shop and gelataria. I teamed the dress with my trusty silver pumps (R.I.P) which after six years of good service, finally gave up at the end of the trip.


The vegetation in and around Pizzo was unique too, quite unlike what I've seen elsewhere. Tall bamboo like grasses swathed the countryside around Calabria. The meadows were filled with bright and colourful flowers. Bougainvilleas were everywhere and they reminded me of childhood days in India. All this natural beauty seemed the perfect backdrop for my bright quirky outfit.


Have you a unique something in your wardrobe too? I'd love to hear about it! Ann x

Wearing: O.M.O Triangle Dress, M&S Silver Pumps, Vivienne Westwood Sunglasses

To get in touch and see the latest on all my adventures, follow me on Bloglovin, Twitter or Facebook .

Photography by Edward Chandler